LIFE IN MOTION - LONDON

At this time of year, many folk are making intentions for the year, both in business and in life. I was just looking over our quarterly plans for 2019 as I always think we haven’t quite achieved what we set out to do. We’d taped it to the back of the kitchen door, and as we were packing away the Christmas decorations, it was time for it to come down too to be replaced by a new 2020 one. One of our intentions for last year, was to start running filmmaking workshops. And we did it, after all the planning and seeing it come to fruition, we just took a moment to remember that it was a seed this time last year, and we gave it space to grow. We don’t find it particularly easy, the marketing side of the business, but that feeling is outweighed by how important it feels to us to be sharing what we’ve learnt over the last few years about making these narratives. 2019 saw us holding filmmaking retreats, and 1-2-1 days. So for 2020, we want to take our filming further, both in what we create for brands and families, but also in how we are teaching it too. It’s good to say it out loud! And I want to thank the group of portrait photographers in the images below. They wrote to me and asked if it would be possible for me to put on a workshop for them down in London. We hadn’t thought about this at all, but I’m really grateful to them, as this year we are taking the workshop out on tour too to groups of photographers who have come together for a day of learning. Next stop, Oxford in March!

These are just a few photos from the workshop I held down in Kensington. One of the attendees Amanda, opened up her house for us, and made us the most delicious food! And there was a bowl of Tunnock’s teacakes, which are just a constant weakness for my sweet tooth! In the afternoon, we held a practical session in a flat just around the corner with a Mum and baby. I think everyone was surprised at how much they took away with them at the end of the day, and it gives me a big Ready Brek glow to see their films popping up on social media. Here are some from the day…

Sarah Mason Photography Filmmaking Class

Some words from one of our workshoppers, Hester Barnes (Hester B Photography):

‘Having stalked Sarah’s work online I knew I was going to fall in love with filmmaking during this workshop. It was such an excellent introduction to the world of filming and I am amazed how much we achieved during the few hours we spent together. Working with a small group was great. It meant we could ask questions and receive feedback as we progressed. Sarah is a fantastic teacher - relaxed, fun and incredibly knowledgeable. Providing excellent tips and tricks that help you achieve great films.  The chance to practice on a real little family was the icing on the cake. I don’t want to shout about this workshop too much as I feel like am now part of an exclusive club! But really… it was absolutely brilliant! ‘

Ways to Learn Filmmaking With Us

1-2-1 Mentoring, either in person or over a series of Skype calls

Phlock Live - 20th-22nd March 2020. A number of workshops over the weekend

Life In Motion Day Retreat - West Yorkshire 20th May 2020. Filmmaking for Families & Brands

5 TIPS TO START FILMMAKING

If you’ve been thinking about dipping your toes into making your own films, this festive time might be when you take the plunge. We thought we’d gently lead you into turning that switch from stills into video, and we have 5 tips for you. We asked what you’d like to learn about, so we’ve tried to include as much of this too in this post. Most of all, we hope you have fun experimenting!

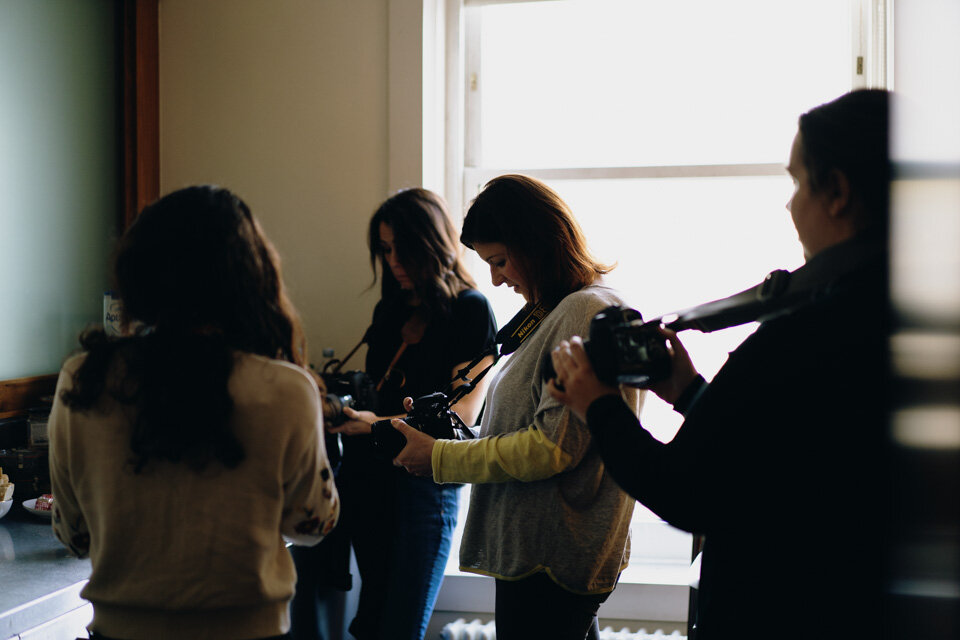
  1. START. I know that might sound a bit daft, but the first stage is just doing it, making those dial and setting switches. Reticence can largely be based around those niggling voices of self doubt. We can feel we’re going back to square one, that we don’t have the room to learn something else, that we have to be creating perfect shorts. If you have been shooting stills in manual, let me reassure you that you actually know so much already! It does take time to get used to, but if you can make that commitment to yourself about picking the camera up regularly in video mode, it will come.

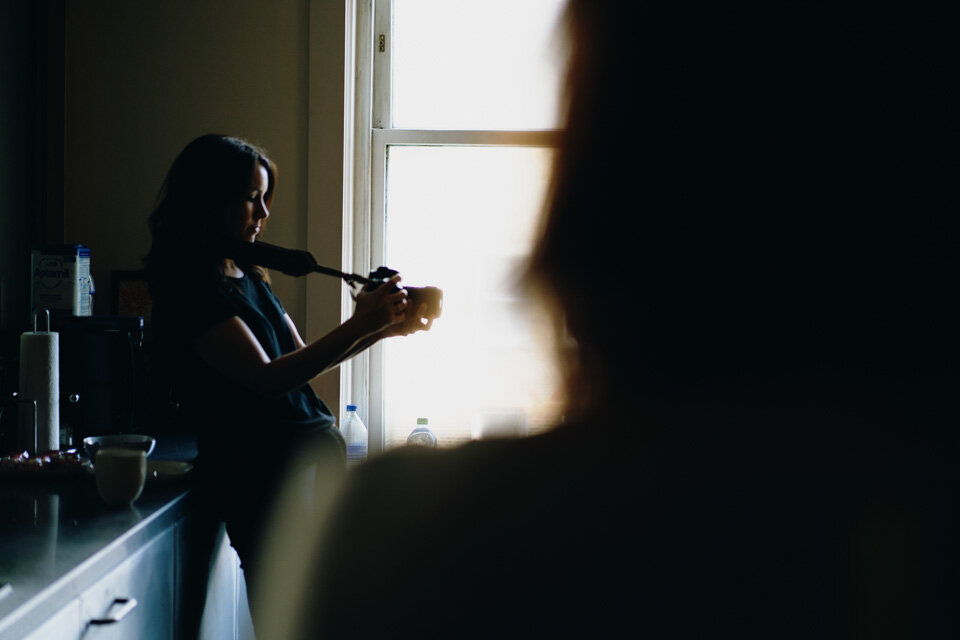
  2. STABILISE. When I first started, I didn’t have any extra kit. I stabilised shots using my camera strap tight around my neck, and making myself like a tripod. There were points of contact to keep the camera as steady as possible. My feet firmly planted on the ground, and I created movement by slowly switching weight between my legs. My elbows tight into my sides which reduces the camera being moved around. For me, this was always the first one that went out of the window if I started getting really excited about the action that was happening in front of me! Just keep checking your stance. And breathing becomes important too. You may find yourself holding your breath. I usually take a big deep breath in before I hit record, and then breathe smoothly throughout the clip I’m filming. You may eventually want to purchase a piece of equipment that will help you a little further with movement and stability. We’ve gone for a gimbal by Gudsen - the Moza Air.

  3. SETTINGS. We use Live View on the back of the camera. A good ‘rule of thumb’ place to start with your Exposure settings, is to have your shutter speed at double your frame rate. If you are filming at a faster frame rate (say 60fps or 120fps), this can be slowed down in edit, so you get that lovely slo mo to your films. Also, if you are filming at this faster frame rate, when you slow it down, it can be more forgiving if there is any camera shake/movement. Focussing often comes up in conversations we have, and what do we prefer. When I was filming on my Nikon D750, I was solely using manual focus. If I had the luxury of practicing a shot, I’d work out where I wanted my focus to start and to end. You can practice this on inanimate objects, one on the foreground and one in the background. It’s called pulling or racking focus when you change the focal point between the 2 objects. On our Sony, we find the auto focus system to be quick and really efficient, so I use a mixture of this and manual focus.

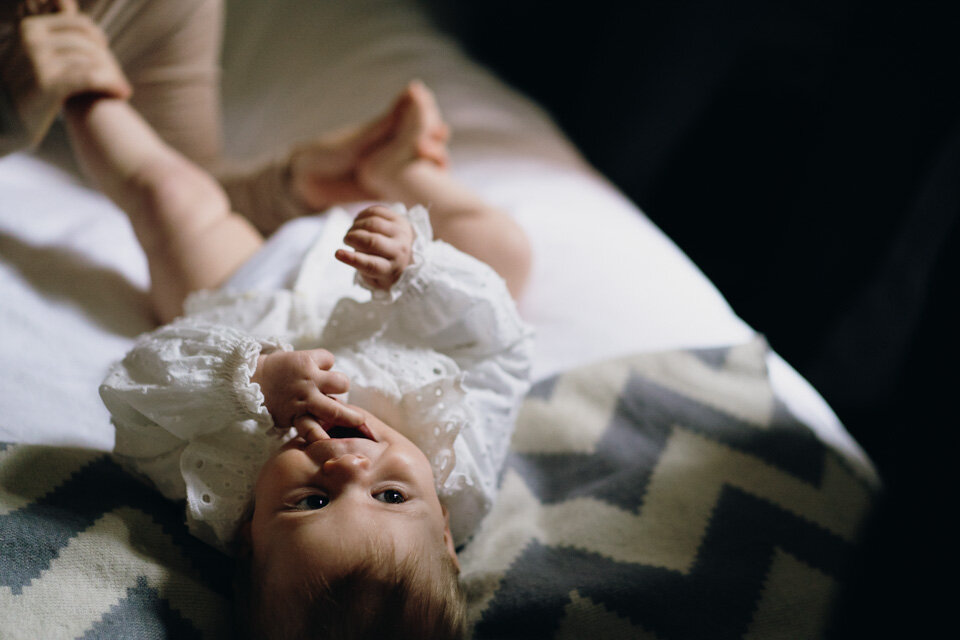
  4. MOVEMENT. Although you are capturing movement in front of you, I always think it’s good to capture this action whilst you’re moving through the shot too. One example of this is moving the weight from one of your legs to the other. You can have quite a wide stance, and don’t worry if you look a bit silly, you’re capturing magic! You move through the shot rather than the camera.

  5. EDIT. When you’ve got all those lovely shots, it’s then time to put it all together in a story. For me, editing is about planning. Before I go into a shoot, I always have an idea of the story I’m wanting to tell, and will have made a note of my beginning and end shots. Of course, you need to be spontaneous too on a shoot, just like a photo session, but I have learnt to have more of a structure in my approach. I carry a list with me in case I need to refer to it at all. As you may have picked up from our Insta posts or from the Phlock Live takeovers, I use Premiere Pro. It’s what I taught myself on, and I’ve stuck with it. I find it really intuitive. If you’re not quite ready to make that commitment to an editing programme, there are other alternatives. Now then, I haven’t personally tried any of these programmes, but I have read good reviews. First up is Filmora, which on first glance looks to have quite similar features and functions to Premiere, you can trial it for free. Or there’s Magisto where you pay a monthly fee. It has templates, which looks good for making films for social media, and you can make them up to 5 minutes in length. And there’s Movavi which I believe is free to download for the basic package, you can trim clips, add basic colour grades and text too. If you work with Adobe products already, you could try Premiere Elements.

  6. Talking about colour grading, we do ours in Premiere Pro, but someone asked last week if you can utilise presets that you may already use for photos on your footage. Short answer, yes you can! You can colour your clips in Lightroom in Library Mode. Under Quick Develop there’s Saved Preset. Choose your preset from under that arrow, it’s probably in the User Presets section. We do all our colour grading in Premiere now in the Colour window. You can also get presets for Premiere, they’re called LUTS (Look Up Table). In fact Premiere already comes with a limited selection which you can find in the Creative section of the colour panel.

We hope you find these tips helpful, and because we’re excited to get you started, we obviously couldn’t stick to the 5 tips!! We know it’s not exhaustive, but we hope it’s enough to give you that boost of confidence to get you switching your camera into Video Mode. And just to let you know about our Filmmaking courses and retreats for 2020. If you’d like to spend time with us and learn more about making short films for you, or for family and brand clients:

PHLOCK LIVE A number of workshops over the weekend, MARCH 20th-22nd

LIFE IN MOTION - Filmmaking Retreat, Hebden Bridge West Yorks, MAY 20th

FILMMAKING 1-2-1 - Day or Half Day, Hebden Bridge West Yorks (4 spaces per month)

FILMMAKING MENTORING - via Skype, learn with us wherever you are in the world (3 or 6 months)

LIFE IN MOTION - Filmmaking Retreat, Hebden Bridge West Yorks OCT DATE TBC

We can also run group workshops for you and a group of friends wherever you are in the UK (minimum groups of 5)

We’d love to see how you get on, please tag us into your posts on Insta, we’re excited to see your first films! Save the pin to Pinterest if you’d like to read later …

5 tips to start filmmaking.jpg

Our Retreat

SarahMasonPhotography_061.jpg

If you’ve been wondering what happens on our Capturing Childhood weekends, this blog post is for you! We are just planning our shoots for our next retreat in October, and we realised we haven’t shared the photos from the last one back in March. So here’s a little about our experience, what we chatted about with our group, and we’re sharing some of the amazing photos they took over the weekend too.

When you first start out with something fresh, like a new course, it feels like a very vulnerable place, wondering if anyone will want to come. Our retreat weekends have been steadily growing, and this is how we wanted it to be. We’ve had a mixture of attendees, from parents wanting to take better photos of their children, to portrait photographers just about to set up their business and feeling they need guidance, and help building their portfolio. There are places left on our next weekend, on the 5th and 6th of October. It will be the fourth of these weekends that we’ve run, and we’re looking forward to welcoming new weekenders to the barn on the hill, a perfect location to learn, shoot, and just be.

We thought we’d take you through some of the things we talk about and share. These weekends are ever evolving, and we like that too, that the course grows, shifts, and changes a little every time.

In March, we were joined by 6 participants, all at different stages in their creative journey. Everyone brought so much to the group, and we’re forever grateful for these conversations about our creativity and practice.

We always start our weekend off with pastries, tea, and introductory chats.

And then everyone finds their spots on the comfy sofas. In the morning, we talk about techniques, breaking a shoot into chapters, and how to see and use light.

SarahMasonPhotography_007.jpg

When we’ve chatted for a while in the morning, we like to stretch, and get out there for our first shoot of the weekend. Martha was our first model. We had just talked about how light can give shots a signature feel, so I wanted everyone to experiment with different light, and see which they like best. We also chatted about getting down on to the children’s level so we’re let into their world. What I love the very most about photography, is everyone’s different interpretations, that there are so many different ways of viewing character.

After lunch, we really start getting into personal style, and feeling confident in our voice as photographers, that we always have something new to say in our photos. How bringing our thoughts back to us, back home, can help with the stories we’re trying to tell in our images. What does a shot make you feel when you press the shutter? And how when we’re taking shots in this way, the viewer feels part of that story too. Olive and Suzi stepped into the limelight for our next practical, and when I started getting excited about the light we had in the room, I crept into a few photos too.

SarahMasonPhotography_010.jpg
SarahMasonPhotography_013.jpg

On Day 2 we talk a lot more about personal style through our own experiences with this. What we do when we’re planning a shoot and how personal projects can feed into work. Day 2 leads us into a family shoot in the afternoon, where we put everything together that we’ve learnt over the weekend. The day before, I took everyone out to the location so they had a good idea of where it was going to take place, and maybe spot some areas they’d like to experiment with shooting. I lead the shoot so everyone can see what happens on our sessions. How I lightly direct if there’s need for this, and learning when to step back so those natural interactions happen.

SarahMasonPhotography_026.jpg
SarahMasonPhotography_023.jpg

I’ve never been great at saying goodbyes, as I always want an event, party, workshop to carry on! It felt very special these two days spent together in the barn on the hill. If you’d like to join us for our next Capturing Childhood weekend retreat, the dates are 5th & 6th October. The location is close to Hebden Bridge in Cragg Vale. Both Mytholmroyd and Hebden Bridge train stations are nearby. Payment plans are now available, just let us know if this is the option you’d like to go for by emailing us at info@sarahmasonphotography.co.uk.

Wherever you are on your portrait photography journey, we’d love to get you a step (or two or more) closer to shooting in the way you want to, the way that makes your heart sing. We hope to see you soon.